Dental Office Photo Guide
Tips and tricks for capturing great shots at a dental practice
First impressions are important, especially when a patient is considering a new dental practice.
We’ve found the most successful dental practice photos are ones that capture the clean, inviting feel of the space, as well as the warmth and personality of the team.
While some photographers are already familiar with this type of assignment, others appreciate some guidance on the best way to showcase a dental practice in website design and marketing materials.
Here’s a round-up of our top tips for shooting dental practice photography ...
Jump to a category:
Hero images
Action shots
Exterior shots
Interior shots
Technology shots
Detail shots
Dentist shots
Individual shots
Hero Images
Most of our dental websites have “Hero” images that appear on the homepage. Wide (landscape orientation) images work best in this space, and we will crop them as needed to work with the design. These are often the largest, most-viewed images on the website, and it’s nice to have several options for this space.
Ideas for hero images include:
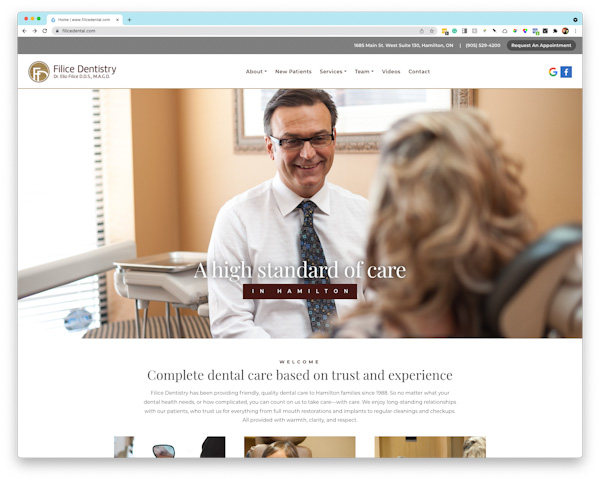
- Dentist Interacting with a patient. They could be talking with them, or showing them a dental model/X-ray. It’s nice to have a clear, happy view of the dentist’s face and best to not have them performing an actual procedure.
- Group shots of dentists and key team members. Avoid full team shots, which can’t be used anymore once an employee leaves.
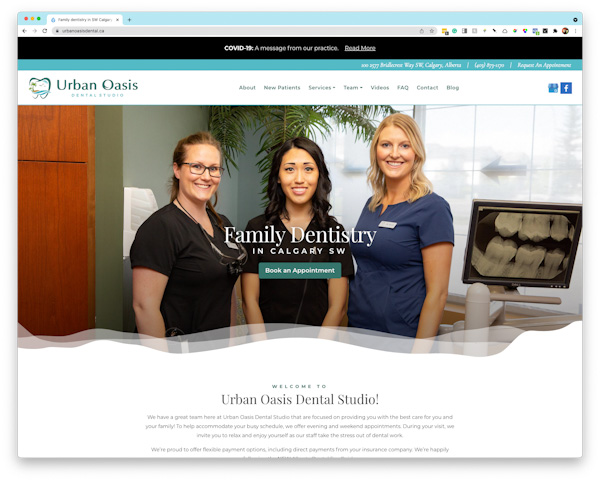
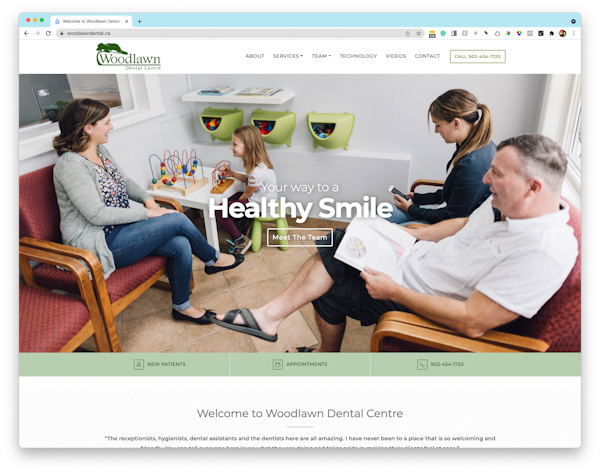
- Photos of the best-looking parts of the office. These photos can have dentists and patients in the shots, but it’s also nice to have options without people in them.
- The exterior of the building. These work well if the building is attractive and identifiable, and they’re handy for recognition purposes.
Great examples of websites with strong hero images:

Action Shots
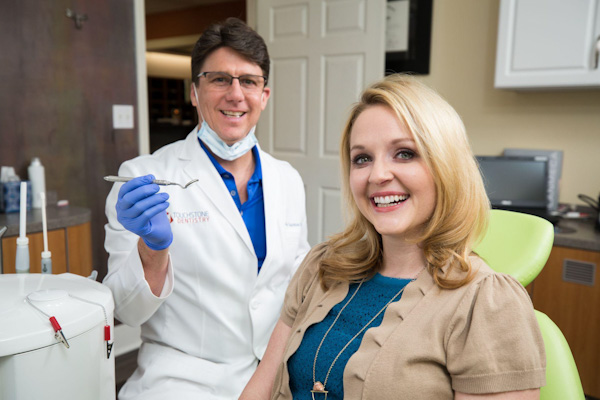
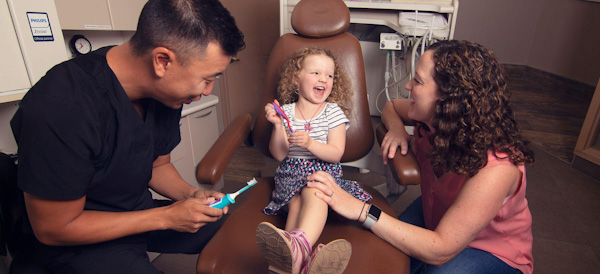
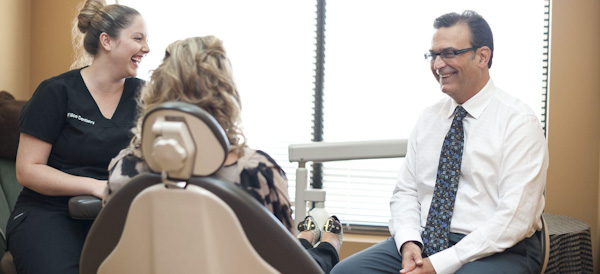
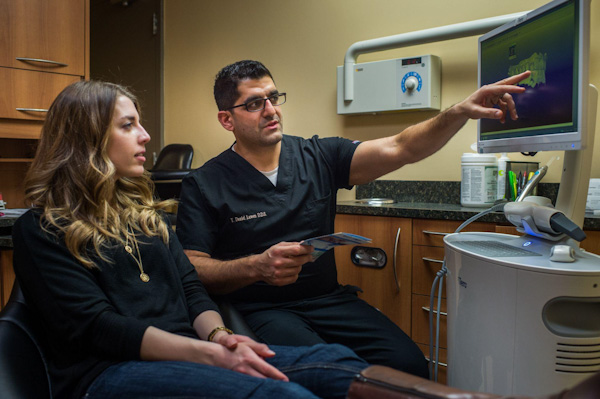
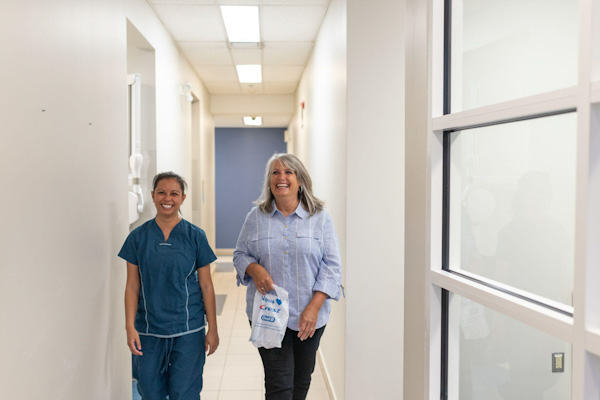
Take photos of the key team members (dentists, long-term employees, etc.) in various attractive settings throughout the office. Candid photos (where people aren’t looking directly at the camera) work well, especially if they’re interfacing with each other or with patients. It’s usually better not to show the dentist working with their hands in the patient's mouth. Instead, try taking shots of them pretending to explain a procedure, or just making conversation with a patient, etc. Lots of smiles, please!
Examples:


Exterior Shots
Take a variety of photos of the exterior of the practice. If the practice is in a building with multiple businesses, you can take wide shots of the building. Often people in the neighbourhood may recognize the building, which can help in attracting new patients.
If the weather is nice, try having the dentist pose outside the building.
Examples:


Interior Shots
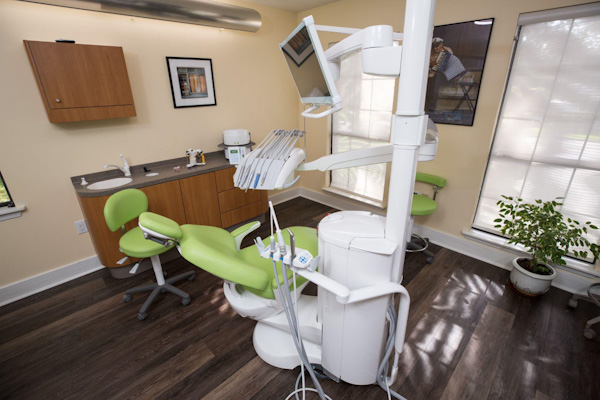
Take photos of the waiting room, operatories, sterilization room, hallways, etc. These don’t need to be empty — key team members can be in these photos. Using a wide-angle lens is ideal for these interior shots, especially in crowded areas.
Examples:


Technology Shots
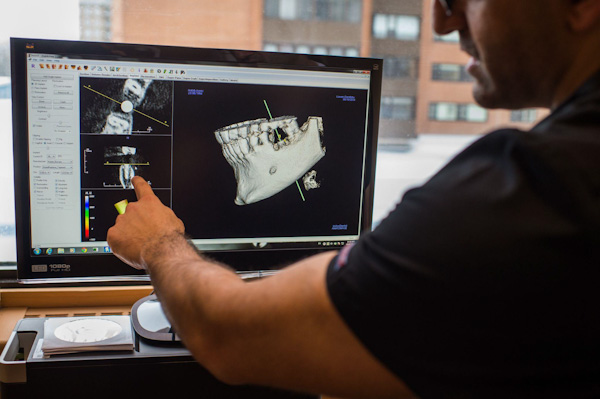
Take photos of the technology used in the office, ask the dentist what they use. This may include digital X-ray, Cone Beam scanners, CEREC machines, etc. Take shots of the dentist pretending to use their technology, wherever possible.
Examples:


Detail Shots
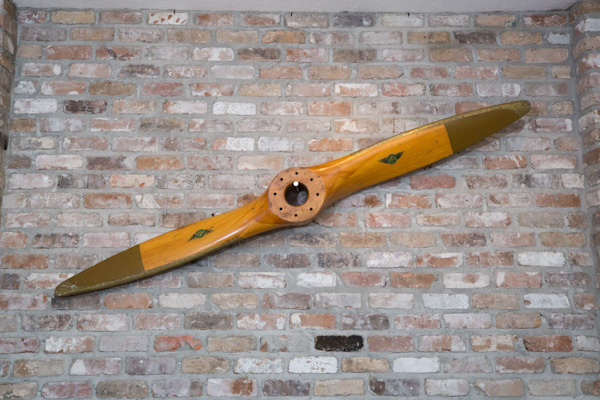
Sometimes dental practices will have interesting details worth photographing, like a marble counter, attractive flooring, dark glass walls, cool artwork or architectural features, etc. Take photos of what you feel makes the office unique.
Example:
Dentist Shots
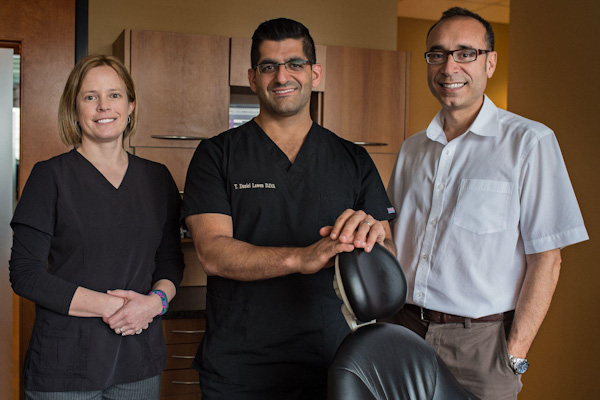
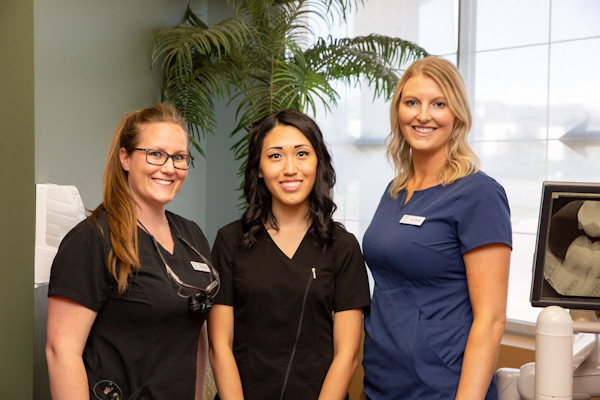
Take portraits of the dentists together, or posing with other vital members. We try to avoid large team photos, since some positions experience high turnover rates (rendering the photos useless once a single employee is no longer part of the team). We find it safest to stick to small group photos only, consisting of crucial team members.
Examples:
Individual Shots
Take an individual portrait of each dentist and team member. These are often used on team pages, or as part of individual bio pages.
Examples:


 Download Now!